You may know about MP3 and WAV more or less. As a matter of fact, MP3 is a universally used audio format, which uses lossy compression and can be played almost everywhere. It occupies less storage space. However, WAV files contain uncompressed audio, but takes up quite a bit of space. An amazing thing is that now you can cut MP3 to WAV to enjoy higher sound quality while cutting out some unnecessary parts of your music file at the same time. Listed below are the best 5 free online audio cutters. Besides, we will also introduce you a handy and lightweight video cutter to help you losslessly trim, cut, split and convert videos and audios with ease.
- Part 1. 5 best free online tools to split MP3 to WAV
- Part 2. The best tool to cut MP3 to WAV offline: Joyoshare Media Cutter
- Part 3. More about MP3 and WAV
Part 1. 5 best free online tools to split MP3 to WAV
#1 MP3 Cutter Online & Free — Crop MP3 Easily — Clideo
This tool is easy to use, but its function is limited. You can do nothing in the exception of cutting files and changing the format of files.

Steps to cut MP3 to WAV:
Step 1: Open the website above;
Step 2: Click the Choose file button;
Step 3: Choose the range of your audios (drag the sound track or input the begin & end time);
Step 4: Choose the output format and click the Cut buttonStep 5: Download the edited file.
Pros:
User-friendly surface
The speed to download the file is fast
Easy to use
Multiple output formats
Cons:
The speed to recognize the file is slow
Limited functions
The cutting is slow
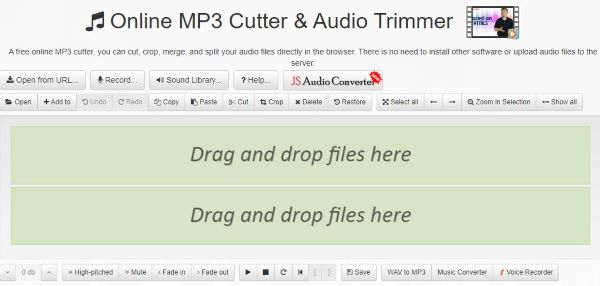
#2 Online MP3 Cutter – cut audio files in your browser
This tool has more functions than that of the first one, including recording audios.
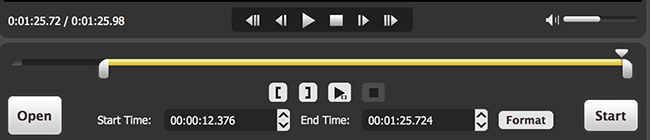
Steps to crop MP3 to WAV:
Step 1: Open the website above;
Step 2: Pick the file you want to trim (Click the Open button or Drag and drop files to the green area);
Step 3: Click the Cut button;
Step 4: Click the Save button and Choose the output format;
Step 5: Click the Save button again to download your files.
Pros:
Support to open files from URL
Record audios
Can resturn the previous step
The speed to download the edited file is fast
Cons:
Limited output formats (5)
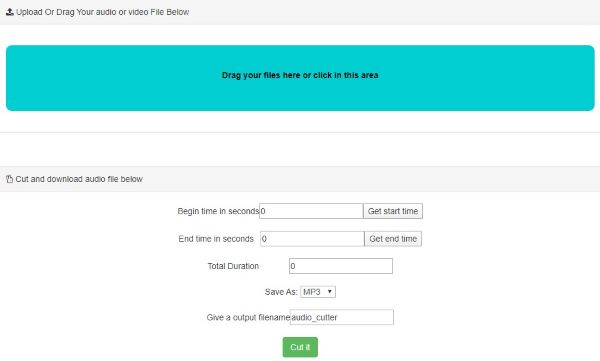
#3 Mp3 Cutter | Wav Cutter – Free Online Editor
The tool aims to cropping audios and has no other functions, supporting only 3 formats.
Steps to crop MP3 to WAV:
Step 1: Open the website above;
Step 2: Upload your audio file by clicking on ‘Drag your files here or click in this area’ below;
Step 3: Enter start and end time manually or play the audio files then click on buttons;
Step 4: Save your split file as mp3, wma or wav format;
Step 5: Give a filename as you wish or leave it as it is;
Step 6: Click on ‘Cut it’;
Step 7: Click on ‘Download Now!’.
Pros:
Set the Begin & End time in seconds
Cons:
The speed to download the edited file is slow
Not show the audio track
Support only 3 formats
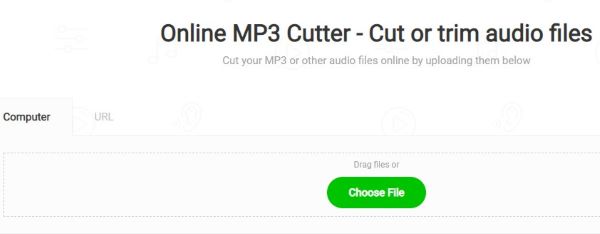
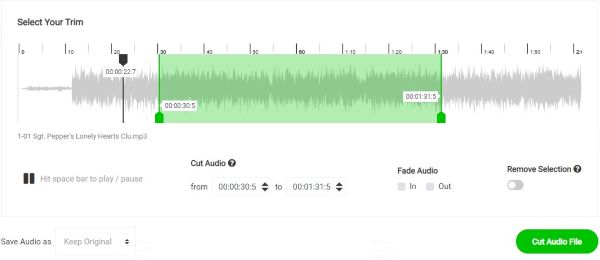
#4 Online MP3 Cutter – Cut or Trim Audio Files for Free
This tool to crop audios not only supports uploading files from the computer, but also from URL.
Steps to split MP3 to WAV:
Step 1: Open the website above;
Step 2: Click the Choose File button or drag the file;
Step 3: Enter start and end time manually or drag the audio track;
Step 4: Click Save Audio as the format you need;
Step 5: Click Cut Audio File;
Step 6: Click Download Your File Here.
Pros:
Support to trim the file from URL
The cropping is quick
Set the Start & End time for accuracy
Cons:
The speed to export is slow
Limited formats (5)
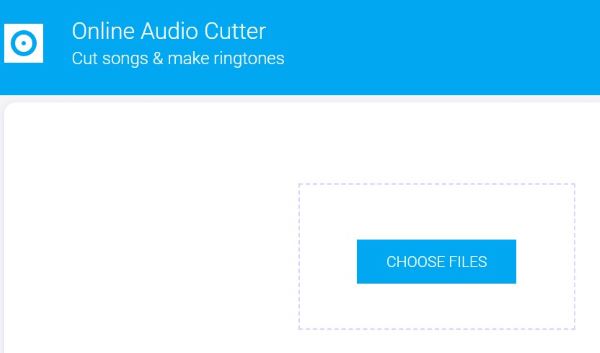
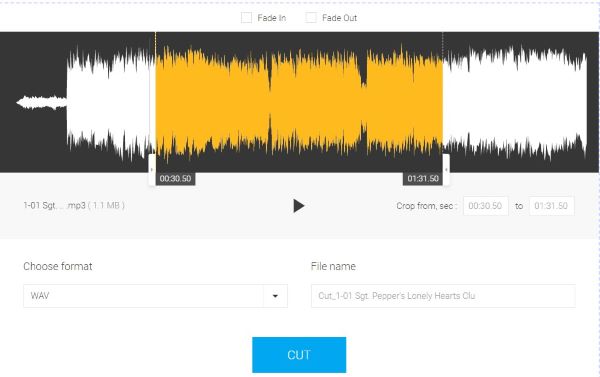
#5 Free Online Audio Cutter & Converter
If you want to change your file’s name when splitting, you can choose this tool.
Steps to cut MP3 to WAV:
Step 1: Open the website above;
Step 2: Click Choose Files;
Step 3: Enter start and end time manually or drag the audio track;
Step 4: Choose the format you need and you can change your file name;
Step 5: Click Cut;
Step 6: Click Download to save your file.
Pros:
The speed to download files is quick
Support to change the file name
Easy to use
Cons:
Support 7 audio file types
The speed to upload files is slow
Note: Compared to other tools to download, these online tools above are more convenient. However, they still have terrible features-unsafe data when trimming. The audio files are to be saved in Cloud service and maybe someone else can also search them. Some audio cutter software can be used after downloading, but this can ensure your data’ s security. On the other hand, the exporting speed of the online free tools above is relatively slow. Therefore, downloading a cropping tool is a nice option. It takes up just a little space and promise a fast speed to split MP3 to MAV with high security.
Part 2. The best tool to cut MP3 to WAV offline: Joyoshare Media Cutter
Joyoshare Media Cutter is a professional cutter software to deal with both audios and videos, supporting multiple formats, such as AVI, MP4, MPEG, MP3, WAV, WMA, M4R, etc. Different with the online tools that only have simple cutting function, Joyoshare Media Cutter is far more than trimming MP3 to WAV, but also splitting WAV to MP3 or any other audio file formats. It supports more formats than all the above online MP3 cutters. Most important of all, you have 5 opportunities to cut audios in trail version. Except the cutting function, Joyoshare Media Cutter is a smart MP3 editor and offers many effects to be added to your audios.

Key Features:
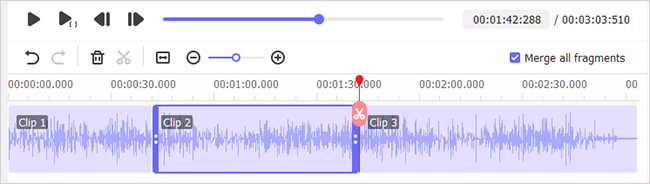
Merge segments
Trim videos/audios without quality loss
The speed to export audios is fast (60X high speed)
Be easy to operate
Set Start Time and End Time for accuracy
Split WAV to MP3 or any other audio file formats
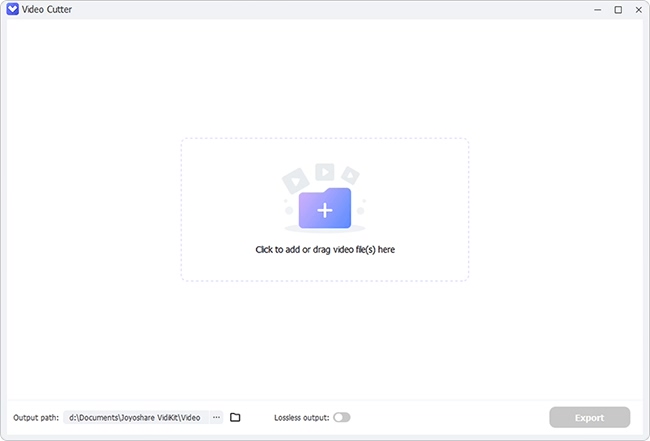
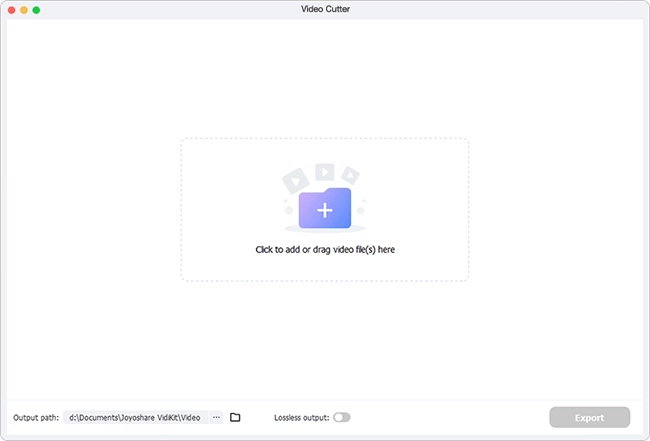
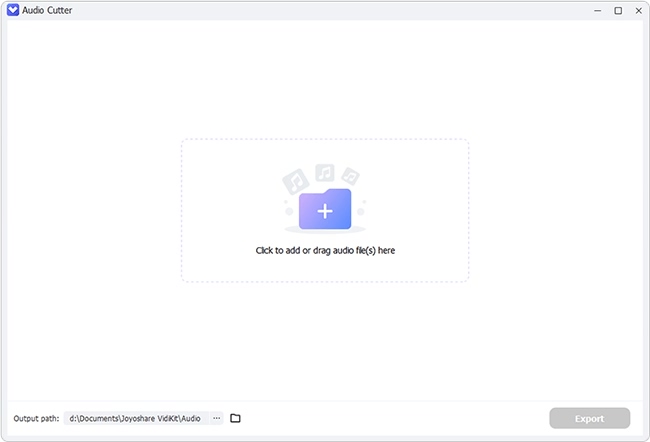
Step 1: Add Video/Audio Files to Joyoshare Media Cutter.
You have two options to add files:
Click the Open button
Drag and drop the files directly to the screen
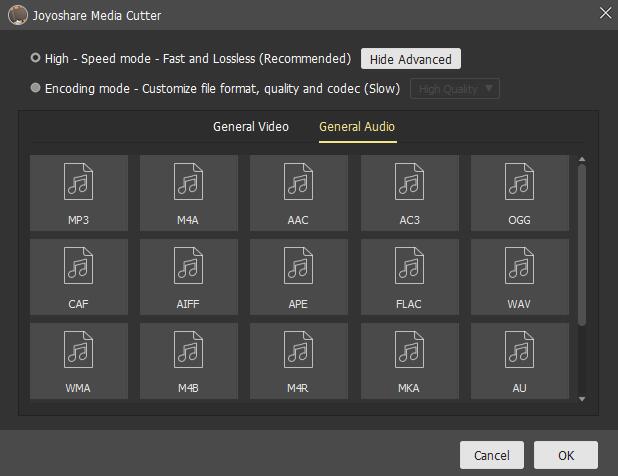
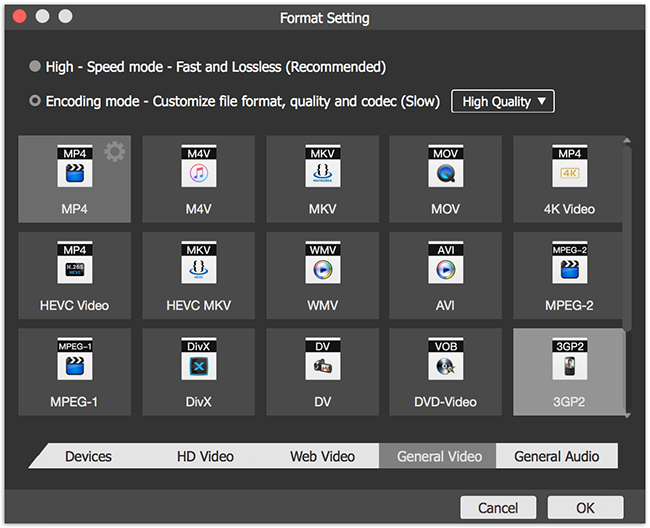
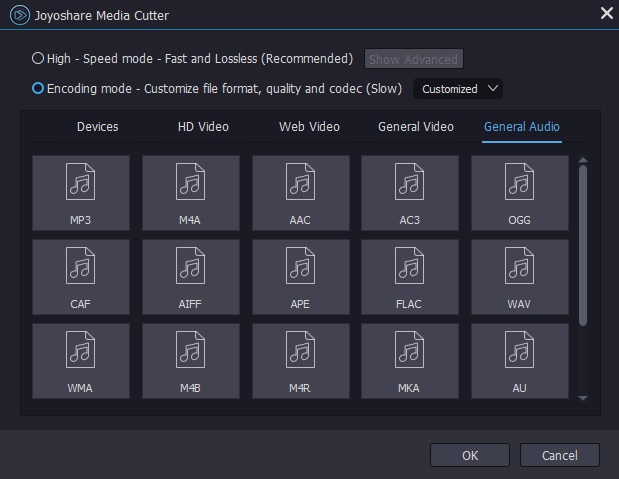
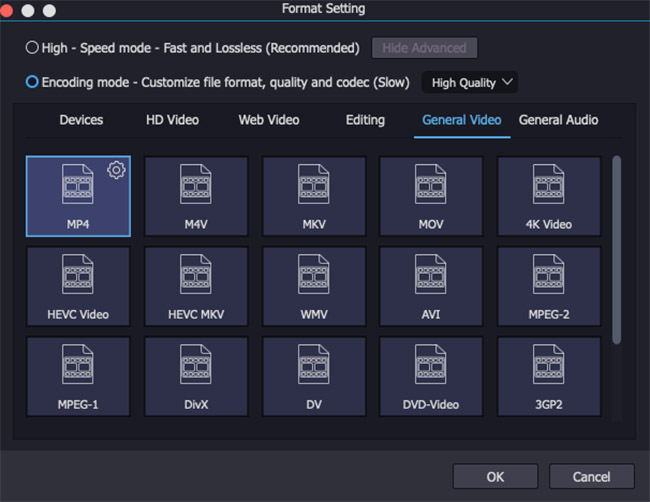
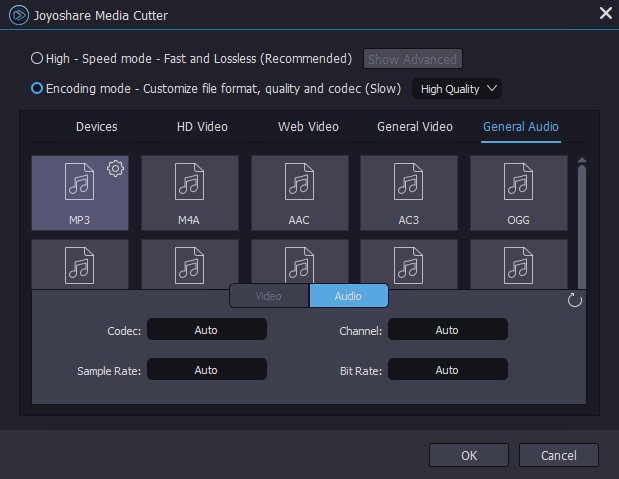
Step 2: Choose the output format.
There are two types of main modes (each has multiple formats):
High-Speed mode (Fast and lossless)
Encoding mode (customize file formats and choose the quality you need)
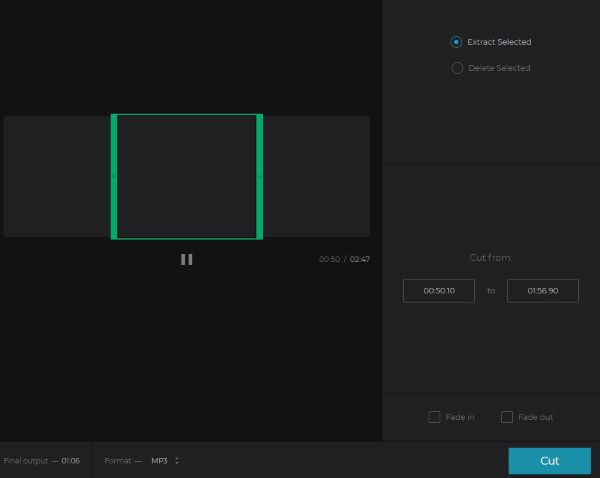
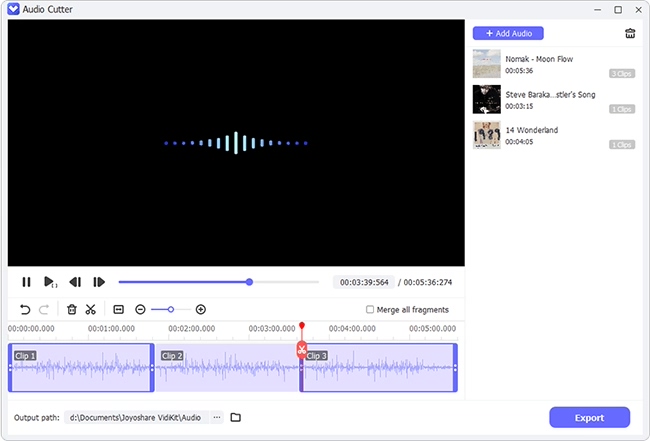
Step 3: Choose the segments you want to save.
You can set Start Time and End Time to crop for accuracy.
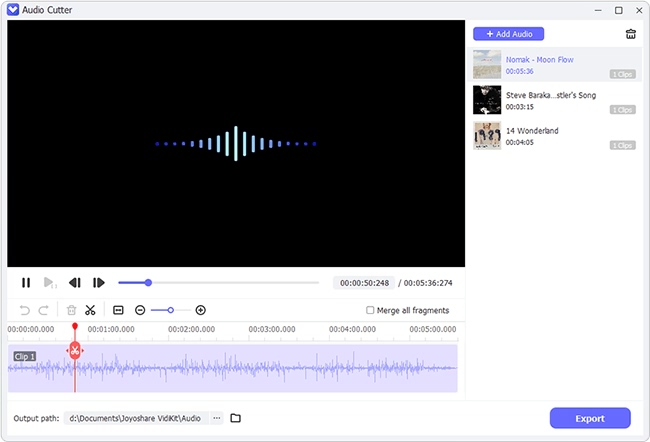
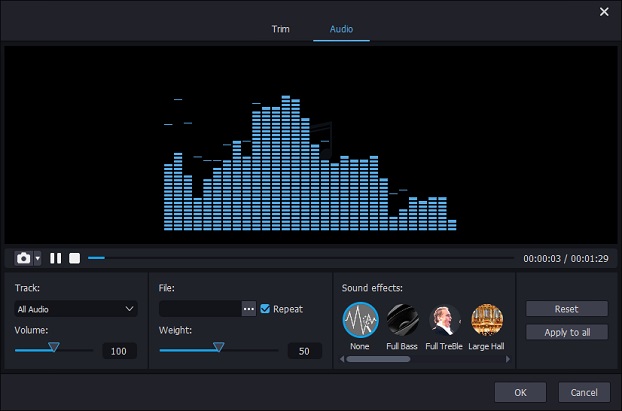
Step 4: Edit audio files, such as adding some effects.
Step 5: Click the Start button to export the audio with high speed.
The tools I have recommended above all can help you split MP3 to WAV. But the last one is full of high security and more functions. You can not only edit audios, including cropping the original audio format to another format, but also edit video files. Most importantly, it supports more than 20 formats. But the online tools can handle limited file formats.
Part 3. More about MP3 and WAV
At present, the MP3 and WAV formats are the two most popular audio types. We know the formats when listening to music. But many people are confused about what the MP3 or WAV formats are and the differences between them.
- Small size and save space
- Acceptable fidelity
- Lossless and uncompressed data
- Use for professional work, such as broadcast
#1 Description of the MP3 format
MP3 or MPEG Layer 3 is a digital audio format created by the Moving Picture Experts Group. At that time, people hoped to replicate CD-quality at a less size. In the process, it caused loss compression, which means reducing the accuracy of certain components of sound.Pros: Cons:The partial discarding of data
#2 Description of the WAV format
Waveform Audio File Format (WAVE, or WAV) is another common audio file format, which is developed by Microsoft and IBM. The format is uncompressed and retains all of the samples of an audio track, so professional users or audio experts may use it for maximum audio quality.Pros: Cons:Large size and occupying more space
For more information, please visit the source page: https://www.joyoshare.com/video-cutting/cut-mp3-to-wav.html